Tear Mending
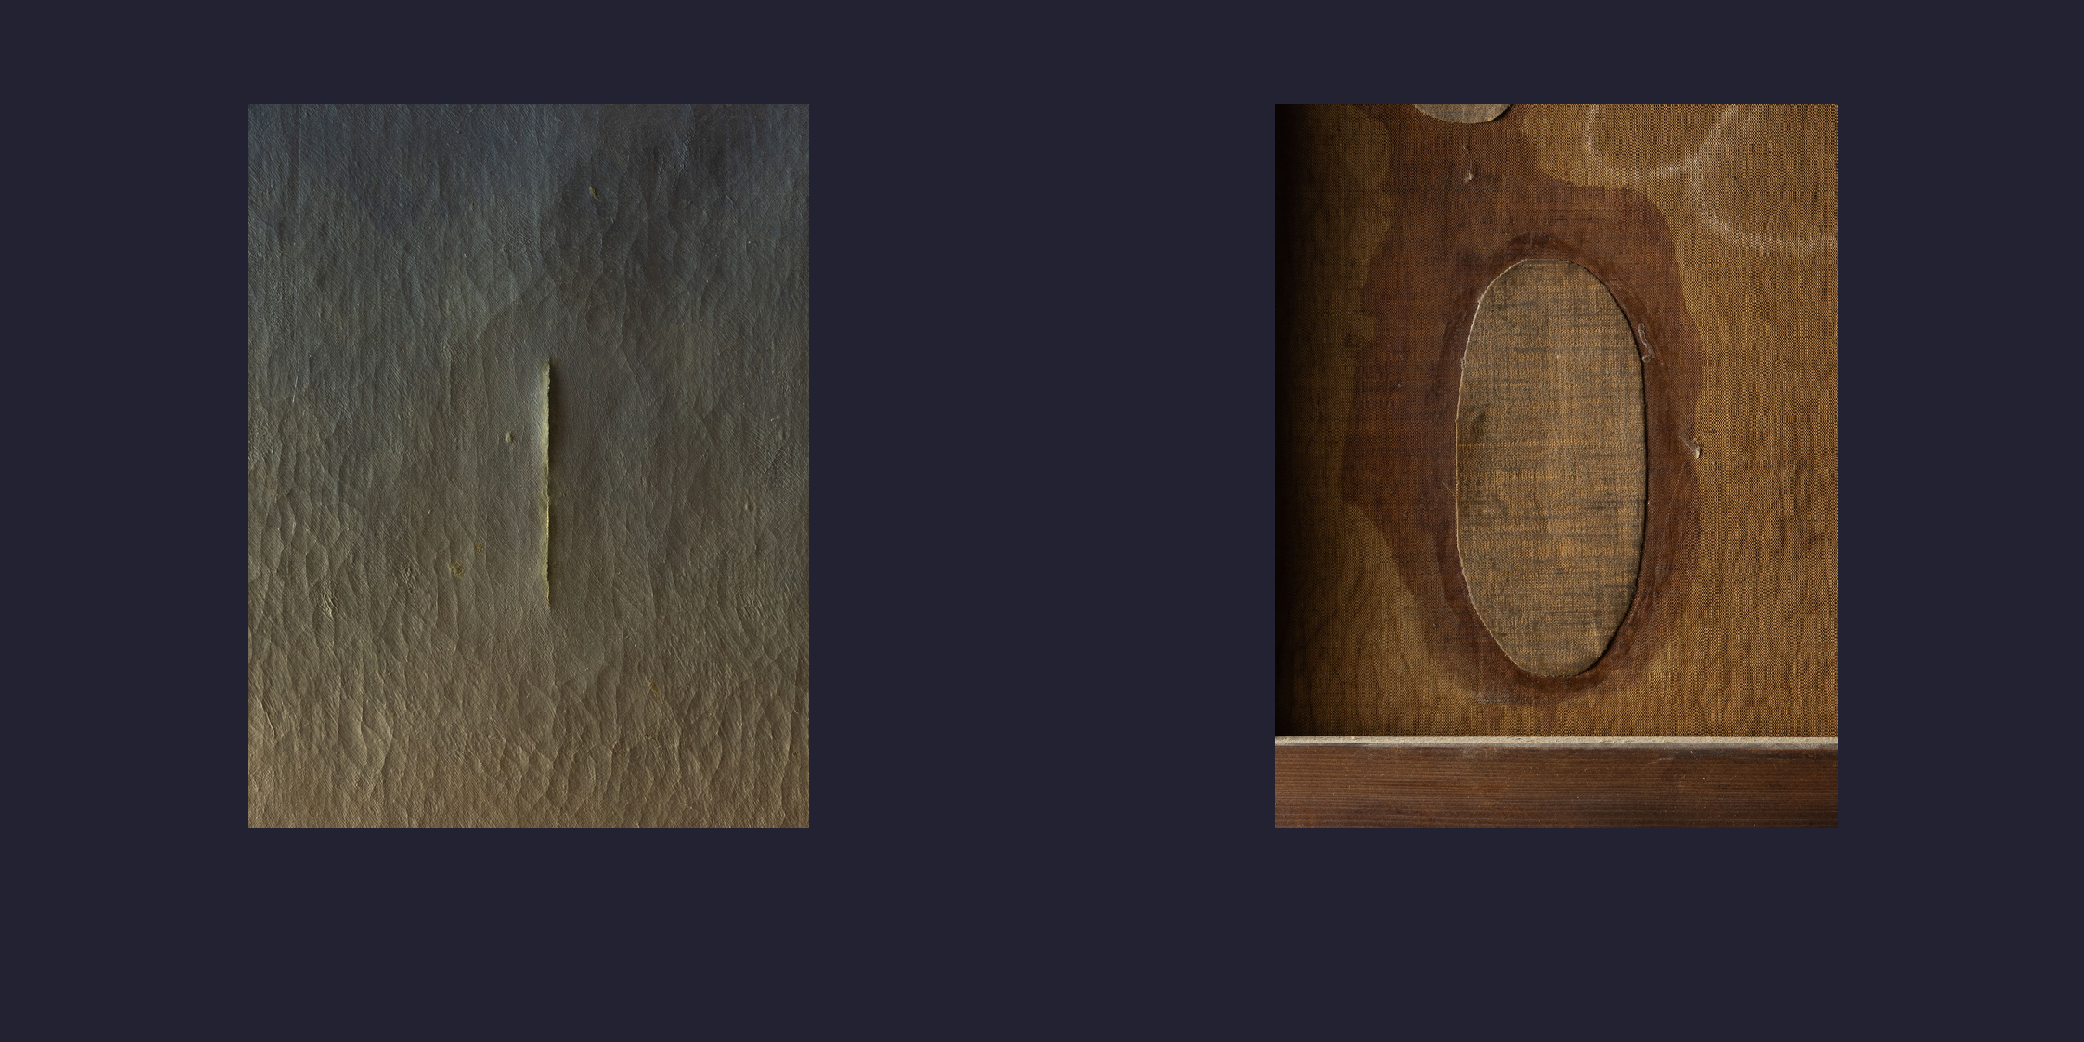
Tears are one of the more challenging problems paintings conservators face. A quick Google search for “canvas tear” brings up a number of articles recommending artists and art owners glue a patch of fabric or paper to the back of the tear and call it fixed. As conservators, we see the aftermath of these failed repair attempts and the additional problems they cause. A painting on canvas is essentially a piece of fabric stretched around a frame. While patches might work to mend a tear in your clothes or a blanket, a painting is different because it is under tension. Stress travels across the canvas and transfers to the unstretched patch. The patch, adhered only to the fibers at the back, will push forward and create a bulge noticeable on the front of the painting. That force can also cause the edges of the tear to push forward and curl up making the damage even more pronounced. See examples below.


Conversely, if a tear is left untreated for a long period of time, the tension of the canvas will cause the gap in the tear to widen and become more difficult to treat in the future (fig. 3). A trained paintings conservator can assess the tear and determine an appropriate treatment protocol that won’t cause additional damage.
Fig. 3
Example of a gaping tear.
Historically, restorers would address tears by lining the entire painting (Villers, 2003). Lining involves removing the canvas from its support and gluing it to a secondary canvas before re-stretching. Lining does evenly distribute the stress, and although this treatment works, it is also invasive and irreversible. Today, paintings conservators tend to favor local treatments and only line a painting as a last resort.
Thread-by-Thread Mend
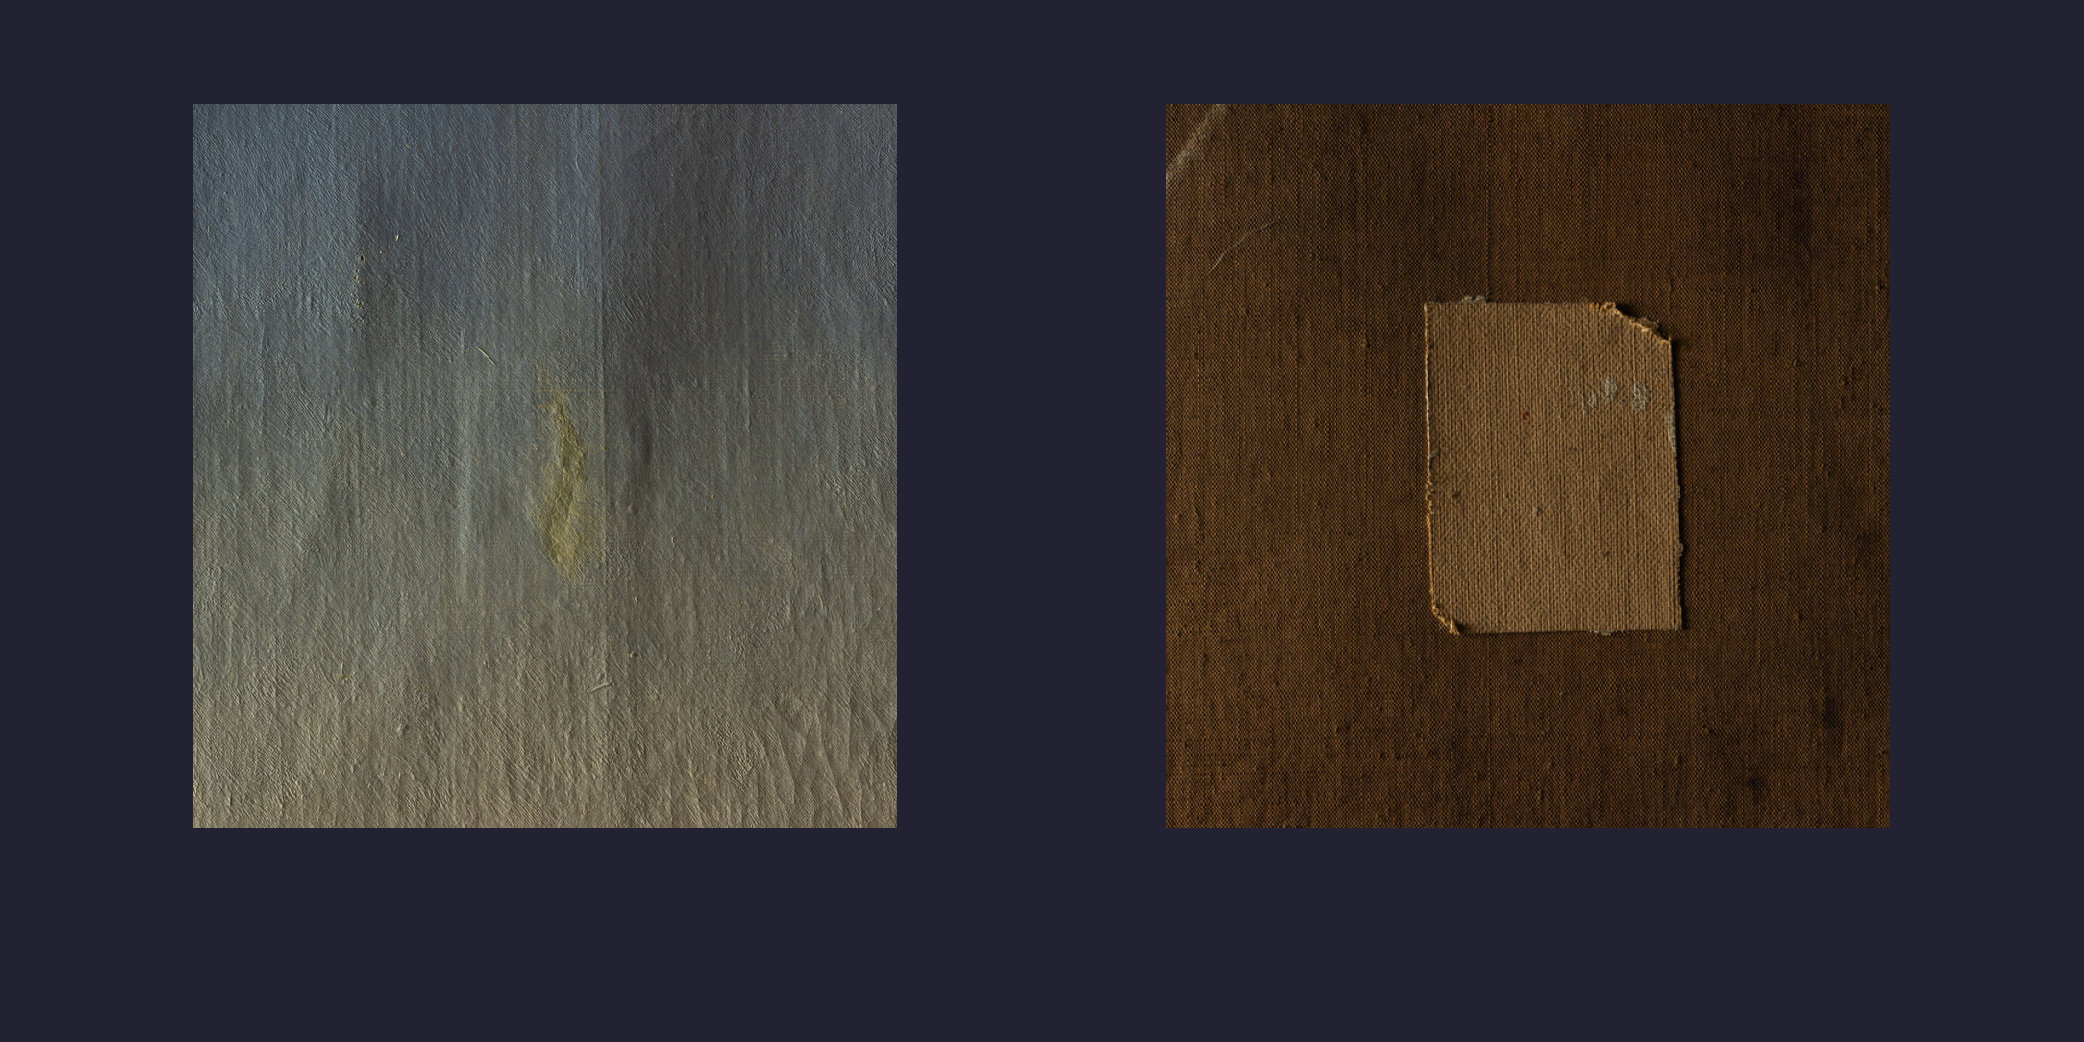
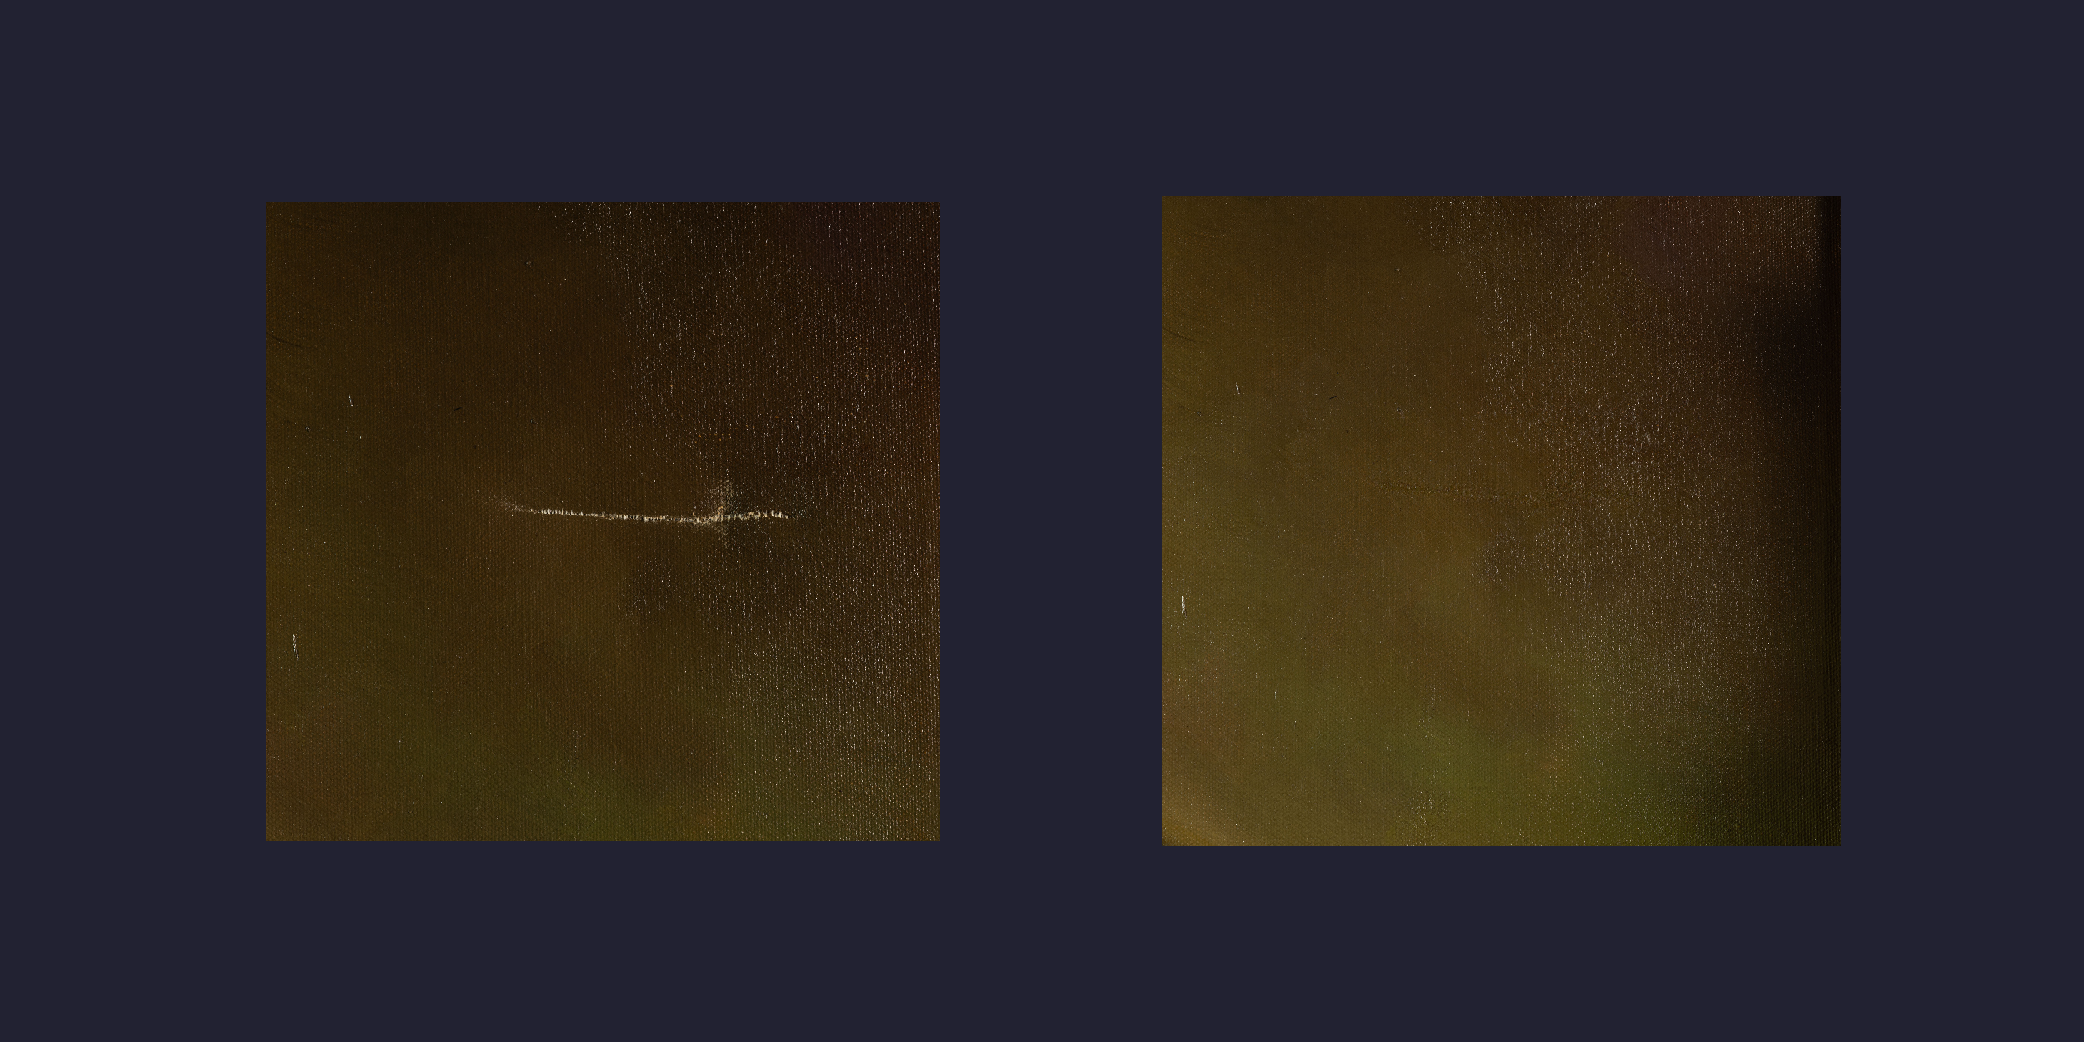
There are several different methods we use to mend tears depending on the individual needs of the painting and how extensive the damage. At Flux, we recently treated an early 20th-century portrait with a three-inch horizontal tear (fig. 4). The tear was straight across, and since it came to us soon after the incident, it was still closed and not yet gaping. The double-weave canvas was composed of cotton threads in the vertical direction and linen threads in the horizontal direction. The modern canvas retained much of its flexibility making the threads easier to maneuver. Taking these factors into consideration, we decided this tear was a good candidate for the thread-by-thread mending technique. First published by the German conservator Winfried Heiber, this method involves using micro-tweezers and crochet hooks to meticulously reweave individual threads (Heiber, 2003). Under a stereomicroscope, the ends of each broken thread are joined together with a drop of a strong adhesive. Heiber’s thread-by-thread method restores the canvas’s original weave pattern and tension and can be virtually invisible.
Fig. 4 Front and back detail of horizontal tear before treatment
The common adhesive used for thread-by-thread is a mixture of sturgeon glue, a protein-based adhesive with good aging properties and wheat starch paste added as a thickener. These adhesives have a long history of use in paintings conservation. They are compatible with the artist’s materials and adhere well to canvas fibers. This mixture is also completely reversible in water and can easily be separated from the original materials should the painting need treatment in the future. Though this is a favorable quality, it’s also one reason why many conservators choose to reinforce the tear with a secondary mend (Mulvihill, et. al. 2023). Paintings are inherently vulnerable to fluctuations in humidity, and excess moisture in the air can weaken a tear repair mended with water-soluble adhesives.
Fig. 5 Before and After photomicrographs of thread-by-thread tear mend.
To support our thread-by-thread mend, we used a layer of a very thin, nonwoven, monofilament polyester tissue. Although we use thin and reversible materials, we still need to take steps to avoid adding bulk and prevent any future telegraphing that a patch can impart. We do this by creating a gradation in the size and shape of any added materials and making sure there are no hard edges. The polyester was cut with pinking shears (to create a jagged edge) slightly larger than the tear. To attach the polyester, we used BEVA film, a heat-activated adhesive that is flexible and offers more protection from water. The edges of the BEVA are feathered as well and extend slightly beyond the pinked patch.


Jade Tissue Mend
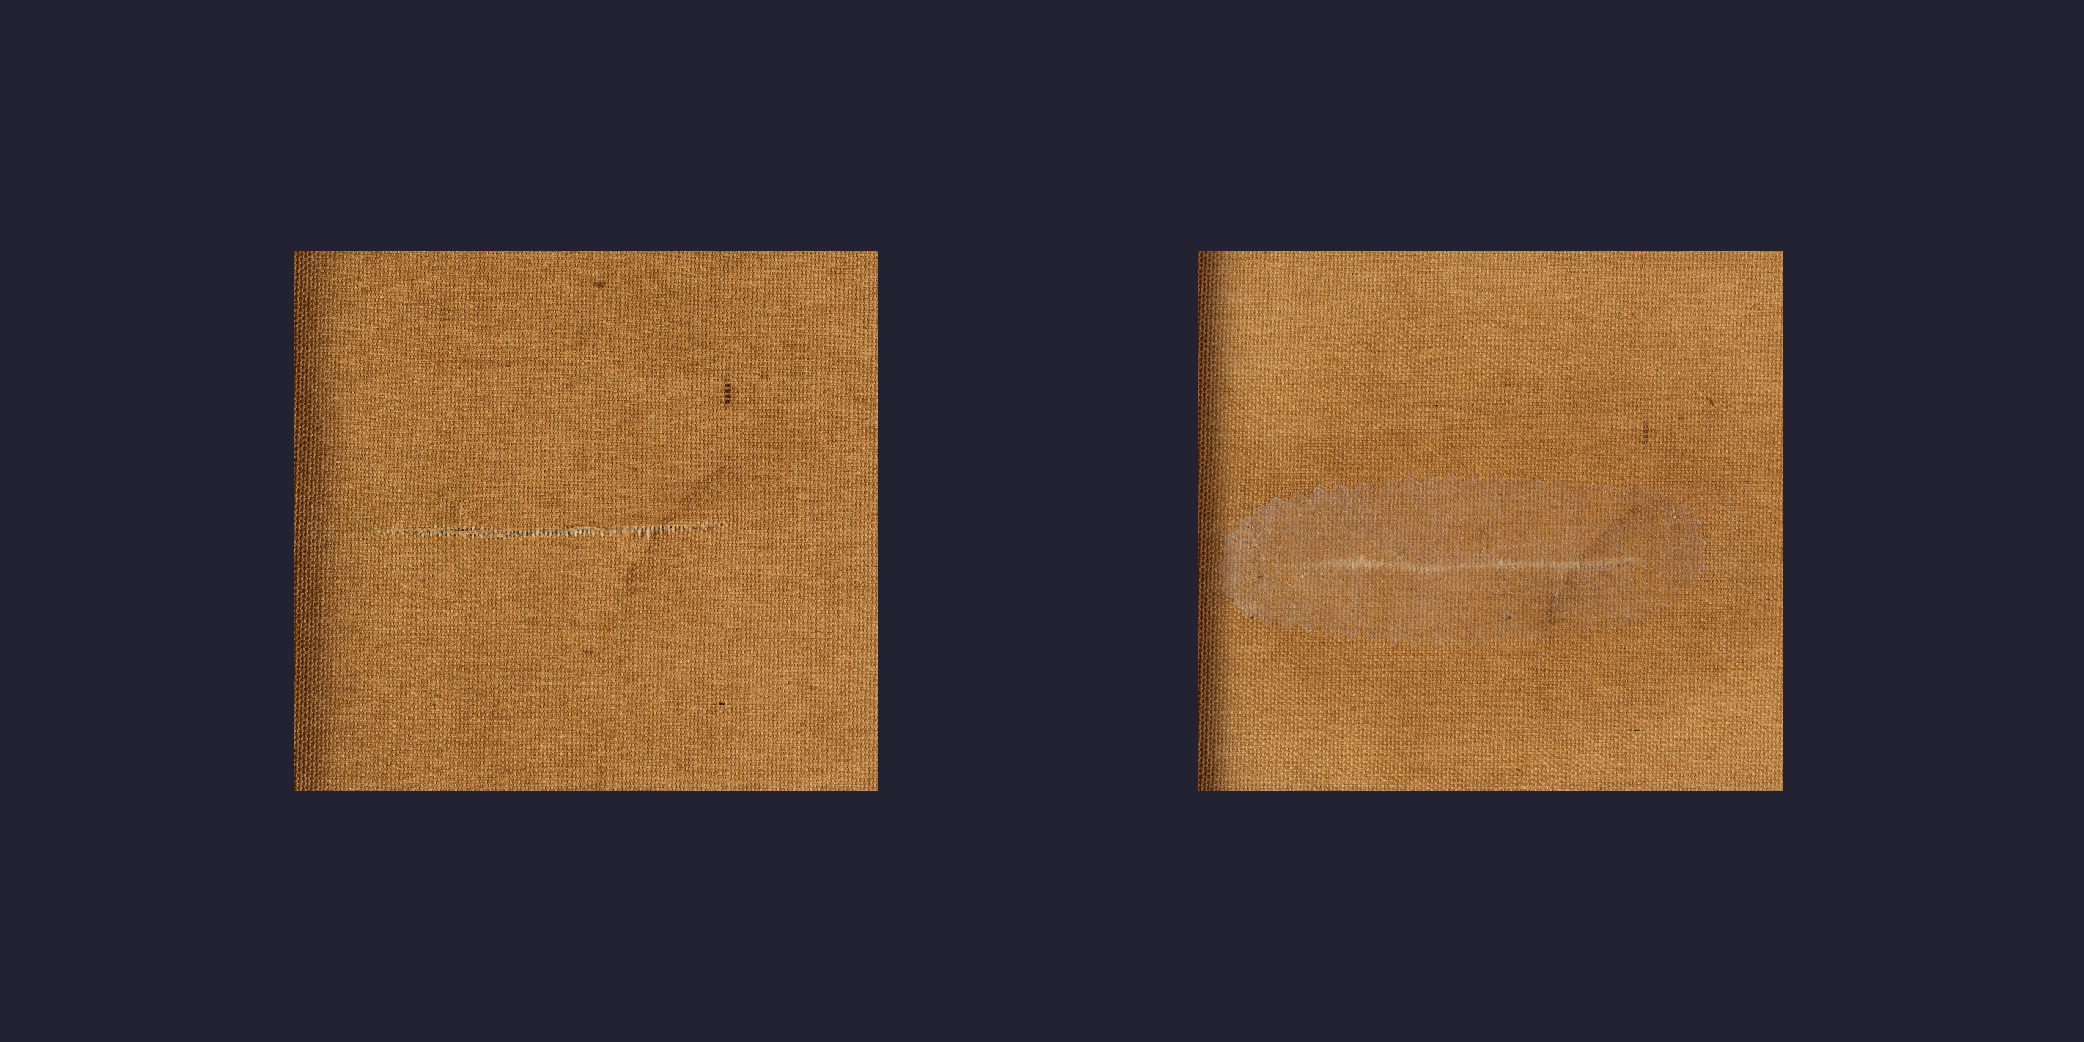
Not every canvas tear is a candidate for thread-by-thread mending. An impressionist landscape painting arrived to the studio with three previous tears each with a canvas patch glued to the back. As expected, the patches were pushing the damage forward and the shape of the patches was becoming noticeable on the front of the painting. We were able to peel off the two oval patches relatively easily which allowed us access to properly redo the mend. The pieces of canvas were primed on the side facing the tear and loosely adhered to the back with wax. We reduced the excess wax and assessed the tears. Unlike the more modern portrait painting, this older canvas was significantly degraded. The brittle treads and the embedded old restoration materials made it impossible to do a thread-by-thread mend. Instead, we opted for a Japanese tissue mend. Although thin, the long interlocking paper fibers in Japanese tissue impart a strength that makes it an ideal material for mending tears. The tissue also has a similar composition to canvas fibers which enables it to bond well to the ends of the tear and maintain similar physical properties. To begin the mend, we applied a small amount of Jade 403 along the inside of the tear. Jade 403 is a synthetic, water-soluble adhesive that remains flexible enough to move with the canvas. We used a tiny brush and a wooden skewer to push a small piece of Japanese tissue into the tear and let that dry over night under weight. We used a scalpel to remove the excess and only a small amount inside the tear remains. We reinforced the tear using the same method as above.
Fig. 8 Detail Before, during and after jade tissue mend.
Mending a tear is delicate work that requires strong and flexible materials that are thin enough to not be noticeable on the front. Before choosing which technique to employ, we evaluate the complexity of the tear, the stability of the canvas, and look for old restoration materials. Contrary to advice from Google, slapping a piece of canvas to the back of a tear will only cause more damage and limit future treatment options. The best thing you can do if something punctures your painting is to take it to a trained paintings conservator.
Works Cited
Heiber, Winfried. 2003. “The Thread-by-Thread Tear Mending Method.” In Alternatives to Lining: Structural Treatment of Paintings on Canvas without Lining: A Conference Held Jointly by the British Association of Paintings Conservator-Restorers and the United Kingdom Institute for Conservation Paintings Section, 19 September 2003: Preprints, edited by Mary Bustin and Tom Caley, 35–48. London: United Kingdom Institute for Conservation of Historic and Artistic Works.
Mulvihill, Emily, Sandra Amann, Elizabeth Estabrook, Megan Berkey, Sayaka Rozsa, and Gail Mitchell. “Weaving into Heiber: Further Treatment Steps for Tear Mending.” In Conserving Canvas, edited by Cynthia Schwarz, Ian McClure, and Jim Coddington, 254–61. Getty Publications, 2023. https://doi.org/10.2307/jj.6142260.35.
Villers, Caroline, ed. 2003. Lining Paintings: Papers from the Greenwich Conference on Comparative Lining Techniques. London: Archetype.


